May 31, 2008

Now It's Personal

This week I listed my own wedding invitations on Etsy. I am so excited about it. I loved making them and I hope someone else finds them as fun as I did because I would LOVE to make another set of them. Check out my "Remember Moments" invitation sets!


On a funnier note. Please check out my mother's PUBIC, not PUBLIC apology in the forums. Too funny!

May 24, 2008

ETSY SALE

I am back! And I am making international sales! Ok, so maybe I just sold 2 little proofs to one girl in Ireland, but it is a sale!
After making endless invites for friends and being busy with life in general, I have started to post on Etsy again, and within 1 week I made a sale! This is huge for me and couldn't be more excited!!! Hopefully the success will continue!

May 6, 2008

Stimulus Check

I have been slaving...yes slaving over invites for a friend of mine and so the first thing to do was neglect this poor little blog of mine. I am back now. Sorry to say that I have no exciting crafting news to share with you. Call it a mental block.
In the mean time I have found this website on how Americans are trying to spend their stimulus checks from the government. Take in the money inspiring ideas. You could even post what crafty things you plan on doing with your check!! Just thought you might enjoy!

Jan 27, 2008

PhotoGlassWorks

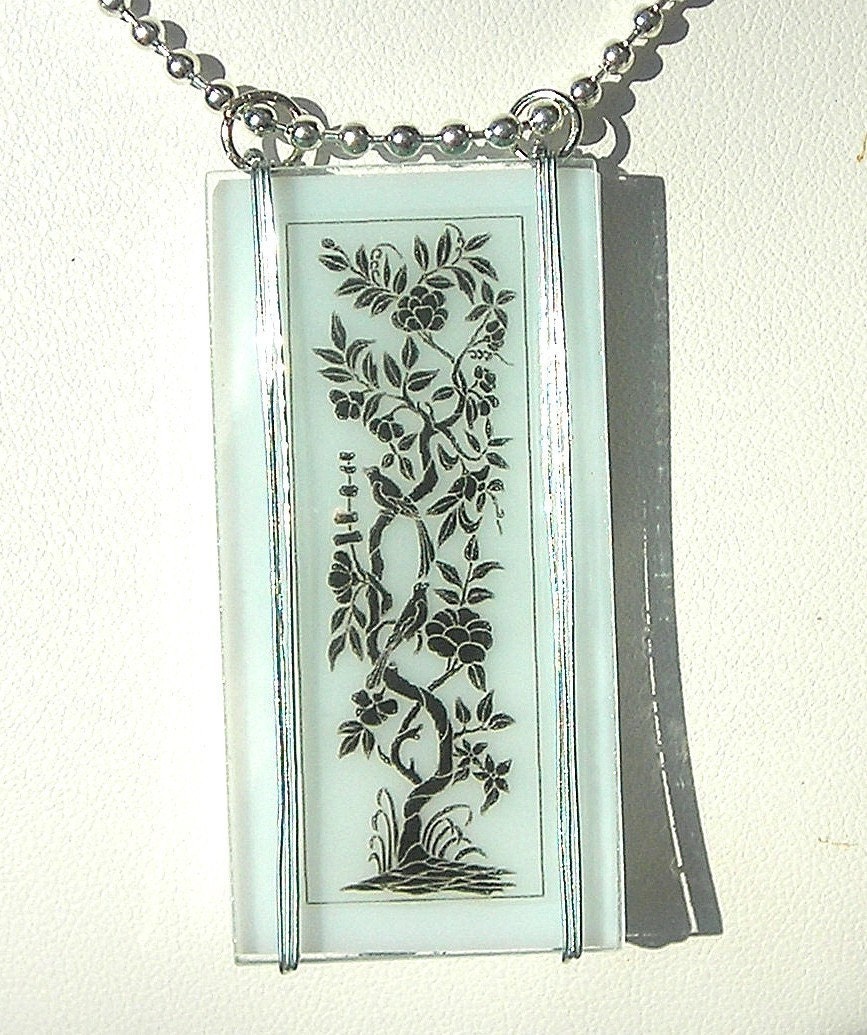
Hello Friends. It has been too long hasn't it. I have been busy working on a few wedding invitation orders and have been unable to write, but I am back and want to share a beautiful Etsy store with you. I love these pendants and I love that she is from NC!! Ok so the last point is a bit biased, but whatever.

Not only are the necklaces absolutely stunning and unique--but the designer, Tracy, also included artwork of other Etsy members. I think it is great idea! Her prices are very reasonable and her feedback is 100%. Pretty solid. I plan on ordering whenever I get a bit of spare cash =)

Check out PhotoGlassWorkshere!


Jan 6, 2008

LOVE MY HUBBY

Good morning lovely people. So I have not written much lately. That is because my husband, who is so great, got me a small flatscreen TV to stick in my craft room. He could not have done a better job on a Christmas present. Now I can watch Oprah---AND cut paper. I think I have found heaven.
So I got to thinking, what else would make a perfect craft room even better. Here is what I came up with. If you think of anything else, please leave me your comments!

1. A heater or fan depending on the season
2. A rug for those hardwood floors
3. I-Pod speakers---Ok so I already have this, but I think everyone should. And yes I totally Rock out by myself in my room
4. An extra table--what craft doesn't need more room?
and
5. A very very comfortable chair to work in!

Ok now tell me your wishlist for your room!

Dec 30, 2007

How To---Make a Paper Stand Holder

Hello everyone. Yes I realize it has been way too long since I have last written, but the holidays were upon me so I know you understand.

Today I would like to show you how to make a paper rack. This rack can fit paper up to 12x12. For less than $20 you can make a rack, exactly like the one pictured. And the good news....for $20 more you can double your rack size. I made the following one for my mother for Christmas after searching and searching for one like the stores have. Store racks will run you at least $60, plus shipping, AND you have to wait to get it (I could only find it online). My version will take you 30 minutes and it is instant gratification!

Supplies Needed
1. Actual Rack metal pieces---I bought mine at Target in the home storage section. They cost about $15 for the white racks and $20 for the black or chrome racks. You are looking for 12x12 metal squares. The box comes with about 25 metal squares and the round connectors you will use as the "feet" on your rack.
2. Zip Ties---You can find these anywhere, but I found home depot had the best color selection. I bought black to match my metal rack. They were about $3.00. You only about 50 of these guys.

How to Do It
1. Assemble your rack into two squares stacked on one another. You will not need the zip ties for this step. Simply follow the instructions that come with the metal rack and use the provided connectors. TIPS--The connectors on the bottom should be placed flat side down so that your rack will sit evenly on the ground. Also, be patient with the connectors, they are finicky. You will have extra pieces.

2. Take one of the extra metal racks and insert it into your bottom square horizontally. This will be your first actual rack. Then use the zip ties to connect the piece on the first square above the ground. Connect the metal with 4 zip ties--one at each corner. TIPS--You can either place the rack even on all 4 corners, or you can drop the back corners down one square, as to create a slanted effect so the papers will stay in the rack and not slide out.

3. Continue this process with all of your extra pieces.

4. Cut off the excess zip tie with wire cutters. I promise this is easier than scissors.

5. The top of your rack will have a larger open space then most of your slots. You can do what you like with this area, personally I found it fit 100 sheet paper packs that are bound.


6. You will be able to get 16 spaces for paper out of one set of pieces, so if you have more room, by all means, buy a second one and make a rack to fit all your paper needs.

If you did this and you love your paper rack, please leave us a comment--we would love to see them!

Dec 8, 2007

Back to the basics

Good Morning everyone. I am back from my craft show. Peep Designs did well considering the low priced items I sell. I had a great time seeing my mother. We did decide though that craft shows will be no longer for us. They are a lot of work with minimal monetary return (in our case). I do have a few tips though for those newbies to craft shows though. It isn't much, but here is what I learned.

1. All shows are different, so do your research. My first show was only advertised a little bit in one town and I found the only people that came in were those who happen to notice there was a event as they drove by. People came to look and not buy. Very frustrating. My show this past weekend is well advertised and 9 years running so people come looking to buy. Much different group of customers.

2.
Sharing a booth is great. You are able to take breaks for food, shopping, and bathroom! Not to mention the entry fee gets cut in half. Just be careful that you and your booth partner are on the same page for visual set up to avoid problems later.

3.
People love deals! So give them "Buy 3 Get 1 Free". I promise they look more.

4.
Don't look bored. I hate going to a booth and seeing someone look like they are hating being there. I usually skip those booths no matter what they are selling.

5
. Meet the other vendors. You have something in common simply because you are both there! I will truly miss the interaction with other vendors. Experienced vendors give the best advice! And traded are great the day of a show. You both get something for free (kind of anyway).

So there you have my few little tips. Peep Designs will go on! Just not at craft fairs. We will be focusing on customized invitations again. Speaking of that...I must go, a set of 55 invitations awaits me for today.